[바닐라 JS로 크롬 앱 만들기] JS on the Browser
● The Document Object ●
》 document : javascript에서 html 접근 가능하게 함
》 (ex) document.title / document.body
● HTML in Javascript ●
》 (★) 특정 요소 가져오기
① 웹 브라우저 콘솔 창에 입력

② app.js 에 입력 (vscode) : HTML element 를 JS로 가져오기
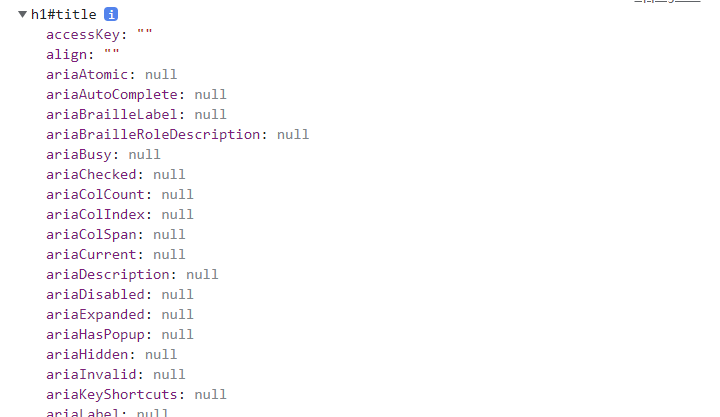
const title = document.getElementById("title");

console.dir(title); # 더 많은 정보 열람
console.log(title); # <h1 id="title">Grab Me!</h1>
→ HTML 변경 가능
# app.js
const title = document.getElementById("title");	# 원래 title : Grab Me!
title.innerText = "Got you!";	# 바꾼 title : Got you!
● Searching for Elements ●
》 document.getElementsByClassName()
# index.html
<body>
    <h1 class="hello">Grab Me!</h1>
    <h1 class="hello">Grab Me!</h1>
    <h1 class="hello">Grab Me!</h1>
    <h1 class="hello">Grab Me!</h1>
    <h1 class="hello">Grab Me!</h1>

    <script src="app.js"></script>
</body>

# app.js
const hellos = document.getElementsByClassName("hello");
console.log(hellos);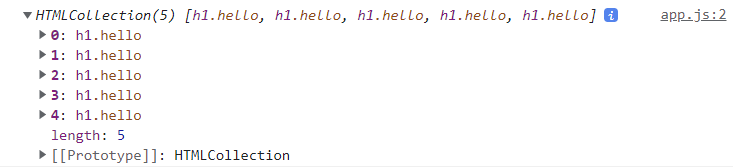
》 (★) document.querySelector()
# index.html
<body>
    <div class="hello">
        <h1>Grab Me!</h1>
    </div>

    <script src="app.js"></script>
</body>

# app.js
// querySelector : element 를 CSS 방식으로 검색
// querySelector() : 첫번째 element 만 가져옴
// querySelectorAll() : 모든 element 가진 array
const title = document.querySelector(".hello h1");
console.log(title);
→ id 값 검색 가능
# 같은 표현
document.querySelector("#hello");
document.getElementById("hello");
● Events ●
》 element.addEventListener("event", function) : 어떤 event 를 listen 하고 싶은지
① HTML element 찾아오기
② event 정의
③ event 실행
# index.html
<body>
    <div class="hello">
        <h1>Click Me!</h1>
    </div>
    <script src="app.js"></script>
</body>

# app.js
const title = document.querySelector("div.hello:first-child h1");	# element 정의

function handleTitleClick() {	# event 실행 시 호출할 함수
    title.style.color = "blue";	# title 색깔 변경
    console.log("title was clicked!");	# console.log 출력
}

title.addEventListener("click", handleTitleClick);
# title(element) click(event) 시 handleTitleClick(function) 실행
》 listen 하고 싶은 event 를 찾는 가장 좋은 방법
→ console.dir(element) : 사용가능한 property 출력 - 이름 앞에 on 붙어있으면 event listener (사용할 때는 on 빼고 사용)
(ex) 마우스 관련 event : onmouse~
- onmouseenter : 마우스가 우리의 element 위로 올라갈 때 click 은 하지 않고 그냥 위에 위치할 때 event
# app.js
const title = document.querySelector("div.hello:first-child h1");

function handleMouseEnter() {
    console.log("mouse is here!");
    title.innerText = "Mouse is here!";
}

function handleMouseLeave() {
    console.log("mouse is gone!");
    title.innerText = "Mouse is gone!";
}

title.addEventListener("mouseenter", handleMouseEnter);
title.addEventListener("mouseleave", handleMouseLeave);
》 window.addEventListener("event", function)
→ title.onclick = handleTitleClick;
→ title.onmouseenter = handleMouseEnter;
# app.js
const title = document.querySelector("div.hello:first-child h1");

function handleTitleClick() {	# title 클릭 시
    title.style.color = "blue";
    console.log("title was clicked!");
}
function handleMouseEnter() {	# title 에 마우스 올려놓을 때
    console.log("mouse is here!");
    title.innerText = "Mouse is here!";
}
function handleMouseLeave() {	# title 위에 올려놨던 마우스를 치울 때
    console.log("mouse is gone!");
    title.innerText = "Mouse is gone!";
}
function handleWindowResize() {	# window size 변경 시
    document.body.style.backgroundColor = "tomato";
}
function handleWindowCopy() {	# 복사 event 감지
    alert("copier!");
}
function handleWindowOffline() {	# wifi 연결 해제
    alert("SOS no WIFI!");
}
function handleWindowOnline() {	# wifi 연결
    alert("ALL GOOOD");
}

title.addEventListener("click", handleTitleClick);
title.addEventListener("mouseenter", handleMouseEnter);
title.addEventListener("mouseleave", handleMouseLeave);

window.addEventListener("resize", handleWindowResize);
window.addEventListener("copy", handleWindowCopy);
window.addEventListener("offline", handleWindowOffline);
window.addEventListener("online", handleWindowOnline);

● CSS in Javascript ●
》 app.js 로 css 변경
# app.js
const h1 = document.querySelector("div.hello:first-child h1");

function handleTitleClick() {
    const currentColor = h1.style.color;
    let newColor;
    if (currentColor === "blue") { # === : 값이 일치함 확인
        newColor = "tomato";
    } else {
        newColor = "blue";
    }
    h1.style.color = newColor;
}

h1.addEventListener("click", handleTitleClick);
》 style.css 로 css 변경
# index.html
<html lang="en">
    <head>
        <meta charset="UTF-8">
        <meta http-equiv="X-UA-Compatible" content="IE=edge">
        <meta name="viewport" content="width=device-width, initial-scale=1.0">
        <link rel="stylesheet" href="style.css" />
        <title>Momentum</title>
    </head>
    <body>
        <div class="hello">
            <h1 class="clicked">Click Me!</h1>
        </div>
        <script src="app.js"></script>
    </body>
</html>

# style.css
body {
    background-color: beige;
}
h1 {
    color: cornflowerblue;
}
.clicked {
    color: tomato;
}

# app.js
const h1 = document.querySelector("div.hello:first-child h1");

function handleTitleClick() {
    const clickedClass = "clicked";
    if (h1.className === clickedClass) {
        h1.className = "";
    } else {
        h1.className = clickedClass;
    }
}

h1.addEventListener("click", handleTitleClick);
→ toggle 사용
# 같은 표현
// classList : class들의 목록으로 작업할 수 있게끔 허용
// toggle : h1의 classList에 clicked class가 이미 있는지 확인

# 1
function handleTitleClick() {
    h1.classList.toggle("clicked");
}

# 2
function handleTitleClick() {
    const clickedClass = "clicked";
    if (h1.classList.contains(clickedClass)) {
        h1.classList.remove(clickedClass);
    } else {
        h1.classList.add(clickedClass);
    }
}